

Branding
A brand keeps your logo, colours, voice, and safety rules ready for Creative Studio. Attach a saved brand to a creative and those rules are applied automatically — so every creative stays on-message without re-typing your guidelines each time. Find Branding under the Shop menu.
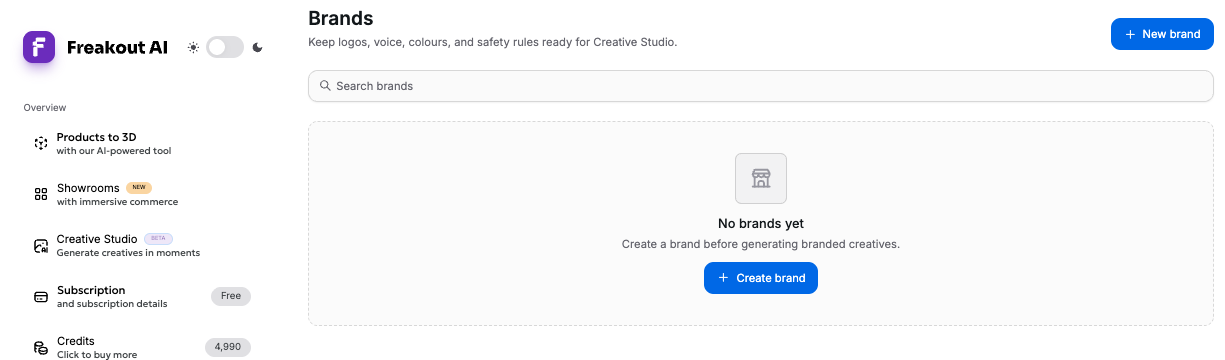
Create a brand#
Open Branding and choose New brand. Give it a name, then fill in as much or as little as you like — every field except the name is optional, and the more you provide, the more closely creatives follow your identity.
Auto-fill: Enter your website URL and press Auto-fill to pull brand details and a logo straight from your site. Auto-fill only fills empty fields, so anything you've already written is kept.
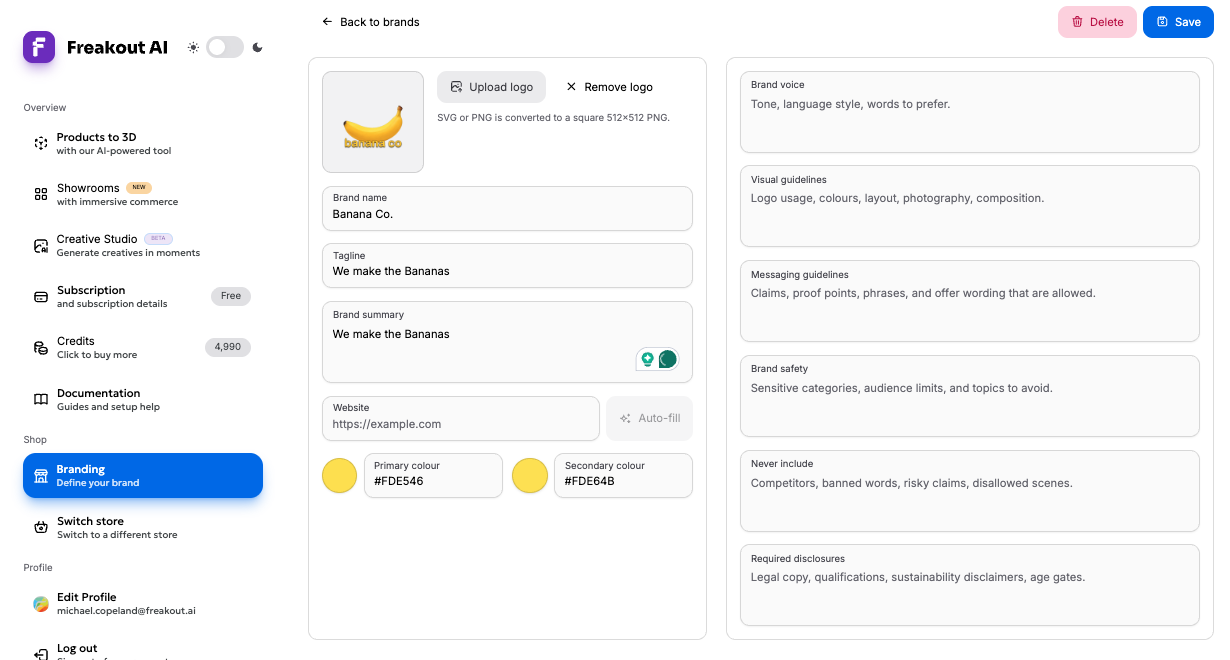
Brand fields#
| Field | What it's for |
|---|---|
| Brand name | The name of the brand (required). |
| Logo | An SVG or PNG, converted to a square 512×512 PNG. When a brand is attached to a creative, the logo is added as a reference image. |
| Tagline | A short phrase to keep near the brand. |
| Brand summary | What the creative system should understand about the brand. |
| Website | Your public site — also used by Auto-fill. |
| Primary / secondary colour | Your brand colours. |
| Brand voice | Tone, language style, and words to prefer. |
| Visual guidelines | Logo usage, colours, layout, photography, and composition. |
| Messaging guidelines | Claims, proof points, phrases, and offer wording that are allowed. |
| Brand safety | Sensitive categories, audience limits, and topics to avoid. |
| Never include | Competitors, banned words, risky claims, disallowed scenes. |
| Required disclosures | Legal copy, qualifications, disclaimers, or age gates that must appear. |
Use a brand in a creative#
In the Brief step of Creative Studio, open the Brand selector and choose a saved brand. Its logo and guidelines are applied to every version you generate. You can create a brand directly from that selector if you don't have one yet.
Delete a brand#
Open the brand and choose Delete. This removes it from the Creative Studio brand selector; creatives you've already generated are not affected.